How to Take a Visa Photo With Your Smartphone
In today’s digital age, almost everything can be done through your smartphone, and taking a visa photo is no exception. No need to schedule an appointment at a professional photo studio or deal with the hassle of photo booths. With a few tips and tricks, you can snap the perfect visa photo from the comfort of your own home. Let’s walk through the step-by-step process to ensure your visa photo meets all the requirements and gets accepted by authorities.
Understanding the Requirements for a Visa Photo
Before you start clicking away on your smartphone to take your visa photo, it’s important to have a clear understanding of the requirements. Visa photo guidelines are often strict, and they ensure that your image meets international standards for identification purposes. While different countries may have slightly different specifications, the core principles remain similar across the board. Getting the photo right from the start will save you time and prevent any unnecessary delays in your visa application process.
The most common requirement for a visa photo is its size. Typically, it must be 2×2 inches (51mm x 51mm), which is a standard size used for passport and other identification photos. This size ensures that your face is large enough to be easily recognizable, while also providing enough space for clarity and detail. It’s essential to crop your photo accurately to these dimensions, as even a slight mistake can result in rejection.
Another key specification is the background of the photo. The background should be plain, white, or off-white with no patterns or shadows. A cluttered background can make your face harder to distinguish, so it’s important to choose a simple backdrop. The goal is to keep the focus entirely on your face, ensuring a clean and professional image. A solid, light background creates a clear contrast with your features, making it easier for officials to verify your identity.
Your facial expression is also an important factor when taking a visa photo. Most guidelines require a neutral expression with no smiling or frowning. The photo should reflect a calm and neutral look, as this mimics the seriousness of official identification documents. Additionally, your head should be centered and fully visible, with no tilting or turning. Make sure there are no shadows on your face, and your eyes must be clearly open. If you wear glasses, ensure there’s no reflection that would obscure your eyes, and if possible, remove any eyewear for the photo. These small details can make a big difference in whether your visa photo is accepted.
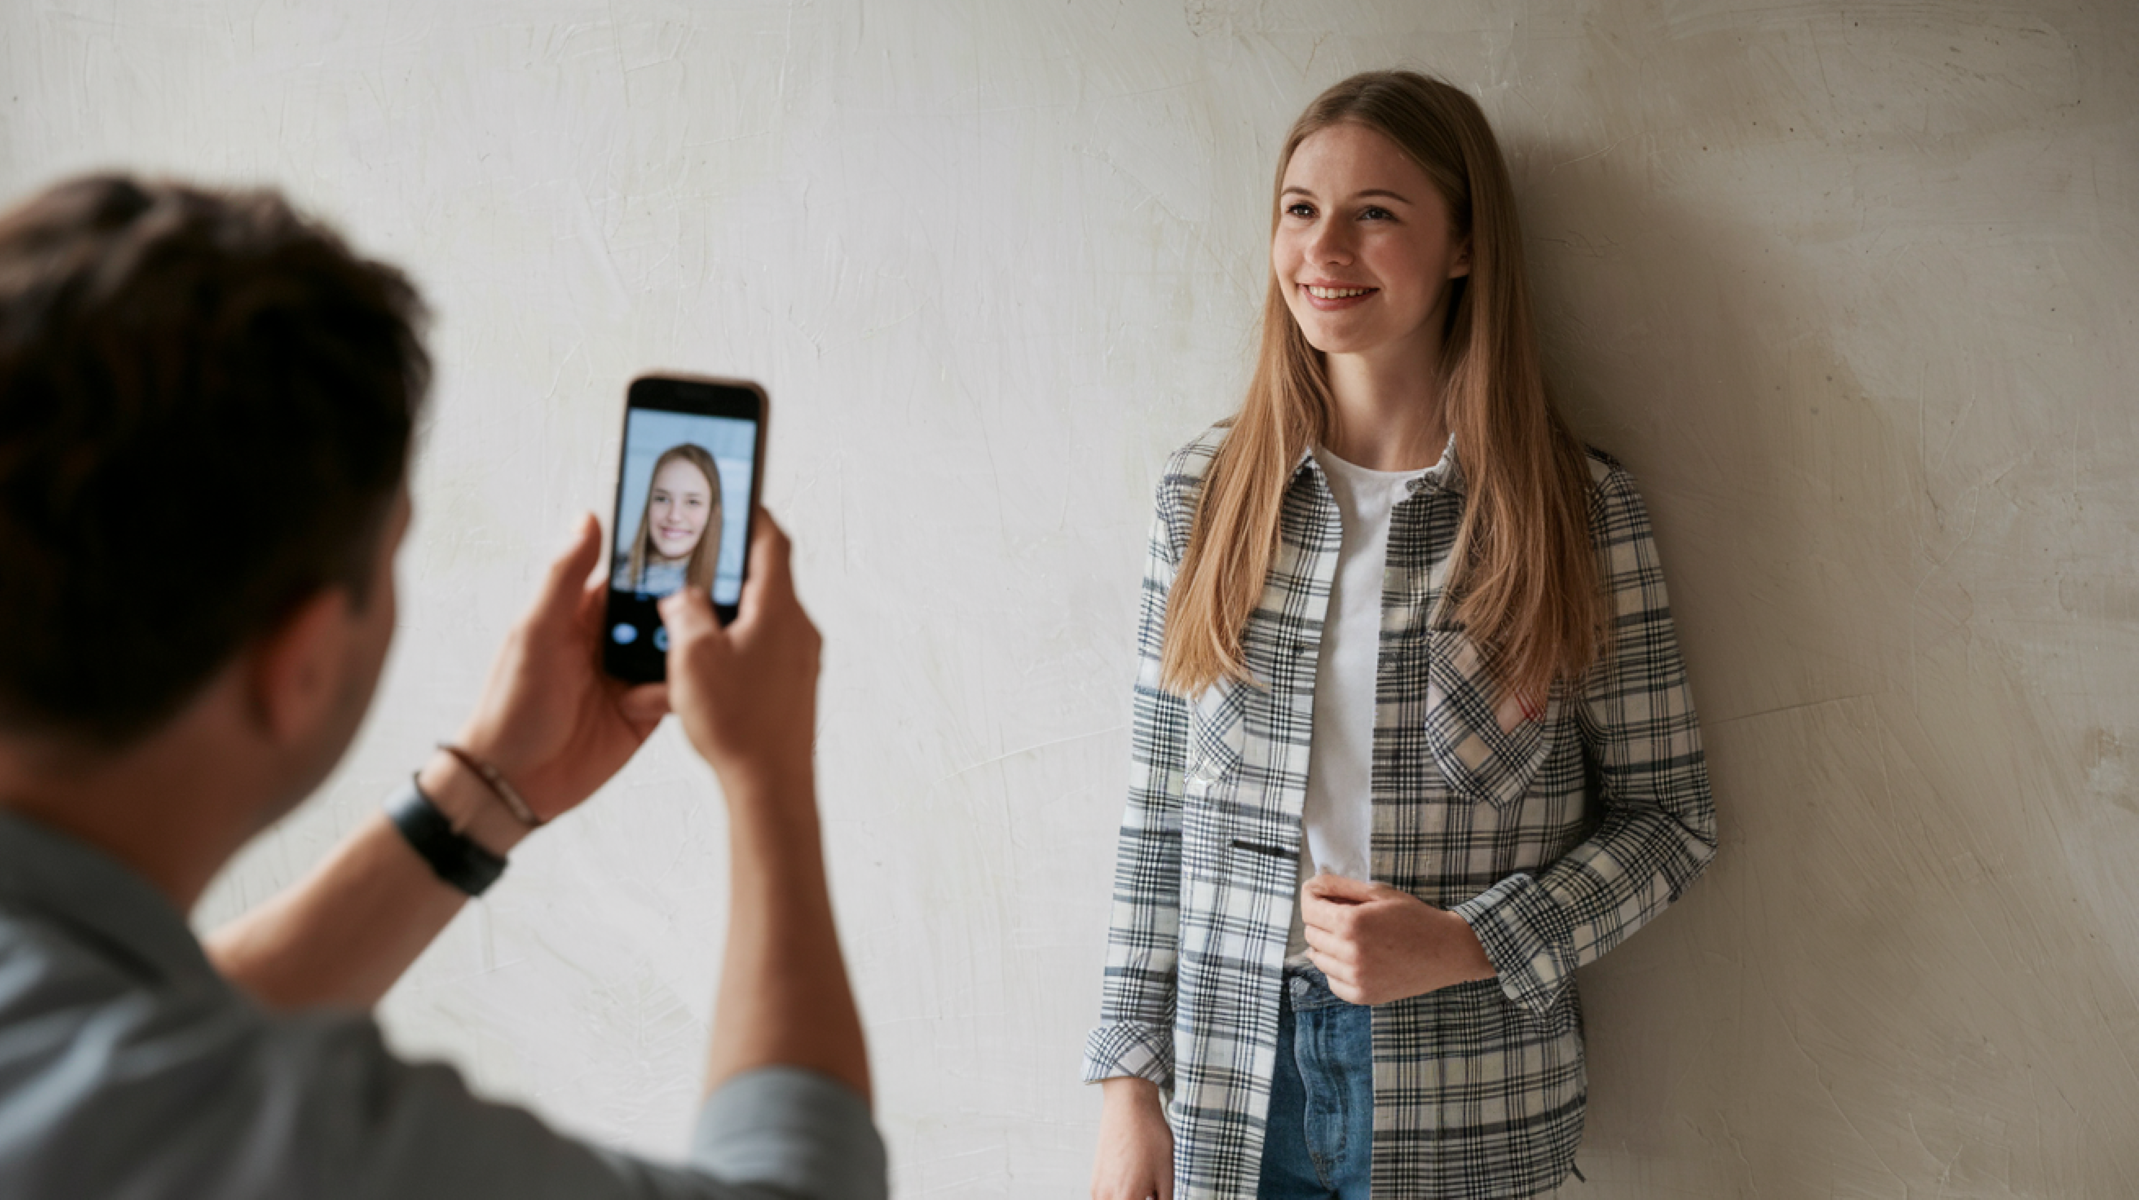
Preparing to Take the Visa Photo with Your Smartphone
| Preparation Step | Description | Importance | Tips for Success | Potential Mistakes to Avoid |
| Choose the Right Smartphone | Select a smartphone with a high-resolution camera for clarity. | A good camera is essential for capturing a sharp and clear image. | Use a phone with at least 12MP for better quality. | Avoid using old or low-quality phones that might distort the image. |
| Lighting | Use natural light to illuminate your face. | Proper lighting ensures a clear and bright image without shadows. | Position yourself near a window or soft light source. | Avoid direct sunlight or harsh indoor lighting that causes glare. |
| Background | Choose a plain, light-colored background. | A neutral background allows your face to stand out clearly. | White walls or neutral gray or beige work best. | Avoid busy, dark, or distracting backgrounds that can confuse the focus. |
| Camera Height | Keep the camera at eye level. | Ensures that your face is straight and fully visible. | Use a tripod or a stable surface to keep the camera at eye level. | Avoid shooting from above or below, as this distorts the face. |
| Positioning | Face the camera directly, keeping your shoulders square. | A neutral position is necessary for a professional and valid photo. | Keep your head straight and avoid tilting or turning. | Avoid tilting your head or looking away from the camera. |
Taking the Photo with Your Smartphone
Now that you’re all set up, it’s time to take the perfect visa photo. Follow this step-by-step guide to ensure your photo meets all the necessary requirements:
- Frame Your Face Properly
- Center your face in the frame.
- Ensure your head and shoulders are fully visible.
- Your face should occupy 70-80% of the image.
- Aim for symmetry in the photo, avoiding any off-center shots.
- Avoid Selfie Mode
- Don’t use the selfie camera, as it distorts images.
- Instead, use the main rear camera for clearer, more natural photos.
- Set up your phone on a tripod, or ask someone to help you take the photo.
- Keep Your Phone Steady
- A blurry photo won’t be accepted, so stability is key.
- Use a tripod if you have one, or rest the phone on a stable surface.
- Consider using a self-timer to prevent shaking when pressing the shutter button.
- Ask a friend for help if needed, to ensure the camera stays still during the shot.
Editing and Cropping the Photo
Once you’ve taken the photo, it’s time to refine it a bit before submitting. However, the editing process should be done carefully to make sure the final image meets the strict requirements for a visa photo. The key is to keep the photo as natural as possible while ensuring it adheres to the necessary specifications.
The first step in editing is cropping the photo. Use a photo-editing app to adjust the size of your image to the required 2×2 inches. Make sure your face is centered properly within the frame and that the overall dimensions of the photo are accurate. This is crucial, as any discrepancies in size could result in your photo being rejected. The app should give you the option to crop to the correct size, so just follow the guidelines and ensure everything is aligned properly.
Next, take a look at the lighting and brightness of the image. Sometimes, the lighting may not be ideal, and you might need to adjust the brightness or contrast slightly to make sure your face is clear. However, be cautious—it’s important to keep the photo looking natural. Over-editing the brightness or contrast can make the photo look unnatural, which could lead to rejection. Keep the adjustments minimal and only make enough changes to ensure the photo remains clear and true to life.
Finally, if you notice any small blemishes or dust spots on the photo, you can use editing tools to remove them. However, avoid heavy retouching or using filters, as your visa photo needs to reflect your real, unaltered appearance. A slight cleanup is fine, but any significant changes that alter your natural look can cause issues. The goal is to present an accurate and clear representation of yourself.
Tips for a Perfect Visa Photo
| Tip | Description | Why It’s Important | How to Do It Right | Mistakes to Avoid |
| Wear Simple Clothes | Choose plain, non-patterned clothes for the photo. | Busy patterns or bright colors can be distracting in official photos. | Stick to neutral, solid colors that won’t draw attention away from your face. | Avoid bright colors, flashy designs, or anything that might cover your face. |
| Keep Your Hair Neat | Make sure your hair is styled in a way that doesn’t block your face. | Hair that covers your face can make it hard for officials to verify your identity. | Tuck stray hair behind your ears or pull long hair back to keep your face visible. | Avoid messy or overly styled hair that might obstruct your facial features. |
| Be Mindful of Glasses | Ensure glasses don’t reflect light, and your eyes are visible. | Reflections or tinted lenses can obscure your eyes, which are vital for identification. | Choose glasses with no glare and make sure your eyes are clearly visible. | Avoid wearing tinted glasses or sunglasses, as well as any glasses with reflections. |
| Avoid Jewelry | Remove any jewelry that may interfere with the clarity of the photo. | Jewelry can create shadows or distractions in your face, making it harder to identify you. | Keep it simple and remove any accessories that might obscure your features. | Avoid wearing large earrings, necklaces, or any jewelry that could cause glare or shadows. |
Tools to Help You with Your Visa Photo
If you’re unsure about taking the photo yourself, there are several apps and online services that can assist in creating a visa-ready photo directly from your smartphone. Here’s a list of tools that can make the process easier:
- Mobile Apps for Visa Photos
- Passport Photo Maker: A user-friendly app designed to help you take passport and visa photos. It includes editing tools to crop and adjust the image to official specifications.
- IDPhotoStudio: This app helps you crop and adjust your photo to meet the exact size and format needed for visa photos. It’s a great option for ensuring your photo fits the required dimensions.
- PhotoAid: Provides both a photo tool and step-by-step guides for taking the perfect visa photo. It checks if the image meets requirements and offers adjustments as needed.
- Online Visa Photo Services
- iVisa: A service that allows you to upload your photo, and it will automatically adjust it to meet visa photo standards. This option is perfect if you don’t want to do the editing yourself.
- Passport Photo Online: An online service where you upload your photo, and they adjust it to meet all the necessary visa requirements. It’s a convenient tool that saves time and ensures accuracy.
Final Checks Before Submission
Before you submit your visa application, it’s important to do a final review of your photo to ensure that it meets all the necessary requirements. A simple checklist can help you spot any mistakes and avoid unnecessary delays in your application process.
Start by verifying the size of your photo. Most visa applications require a 2×2 inch (51mm x 51mm) image. If your photo is even slightly off in size, it might not be accepted, so make sure the dimensions are accurate. You can use a photo-editing tool or a mobile app to crop it to the correct size if needed.
Next, check the background of the photo. It should be plain, white or off-white, with no patterns, textures, or distractions. A clean, light background is essential to meet official requirements, and it also helps make your face the main focus of the photo.
Lastly, ensure that your face is fully visible and free of any shadows or glare. The photo should be well-lit, with no overexposure or harsh lighting that can obscure your features. A neutral expression is also key—make sure you’re not smiling, frowning, or making any exaggerated facial expressions. A calm, natural look is required to meet the standard for visa photos.
Key Factors for a Successful Visa Photo
| Factor | Description | Why It Matters | How to Achieve It | Mistakes to Avoid |
| Camera Resolution | The resolution of your smartphone’s camera is crucial. | A higher resolution ensures the photo is clear and detailed. | Use a smartphone with a high-quality camera (12 MP or more) for best results. | Avoid using a low-resolution camera, which can make the photo blurry or pixelated. |
| Lighting Position | Proper lighting is key for visibility and clarity. | Poor lighting can cause shadows, overexposure, or underexposure. | Position yourself near natural light, such as a window, for even lighting. | Avoid harsh artificial lights that can cause shadows or make the photo look unnatural. |
| Phone Orientation | The phone should be held in a stable position. | Keeping the phone steady ensures a sharp, clear image. | Hold your phone steadily or place it on a stable surface or tripod. | Avoid holding the phone too close or at awkward angles that can distort the photo. |
| Head and Shoulder Position | Your head and shoulders must be visible and aligned correctly. | Misalignment can result in a non-compliant photo. | Ensure your head is centered, facing the camera with shoulders squared. | Avoid tilting your head or moving too much, as it can affect the symmetry of the photo. |
| Image Editing | Post-processing can help adjust lighting and crop the image. | Proper editing ensures the image fits size and clarity requirements. | Use editing apps to crop the photo to 2×2 inches and adjust brightness. | Avoid heavy filters or excessive editing that alters your natural appearance. |
Additional Tips for Perfecting Your Visa Photo with a Smartphone
When taking a visa photo with your smartphone, the little details can make all the difference. Aside from the basics like lighting, background, and expression, there are additional tips that can further help ensure your photo meets the required standards. These extra steps will give your photo the polished, professional look that’s needed for official documents.
- Use a Tripod or Selfie Stick
Using a tripod or selfie stick can provide stability to avoid blurry images. If you don’t have one, rest your phone on a stable surface and set the timer to take the shot. - Avoid Flash
The camera’s flash can create harsh reflections, especially if you wear glasses. Natural light is always preferred for even, flattering lighting. - Double-Check the Crop
Ensure your face takes up around 70-80% of the photo, with your head centered and your shoulders in full view. Double-check the crop before finalizing the image. - Watch for Reflections in Glasses
If you wear glasses, ensure there are no reflections on the lenses that obscure your eyes. You may want to remove them if necessary to avoid any issues. - Keep Your Phone Clean
Smudges or dirt on your phone’s camera lens can result in a blurry or cloudy image. Clean your phone’s lens before snapping the picture to ensure a sharp and clear photo. - Check the Resolution
Make sure the photo is in high resolution. Low-quality photos can be rejected by visa authorities. Check the settings on your phone to make sure the camera is set to the highest quality.